Product photography lighting, explained simply.
Light decides whether a product photo looks professional or homemade. Here is the whole subject in six practical steps — window light, lightboxes, setups — and the shortcut when you would rather skip the rig.
Jewelry & watches · Furniture & interior
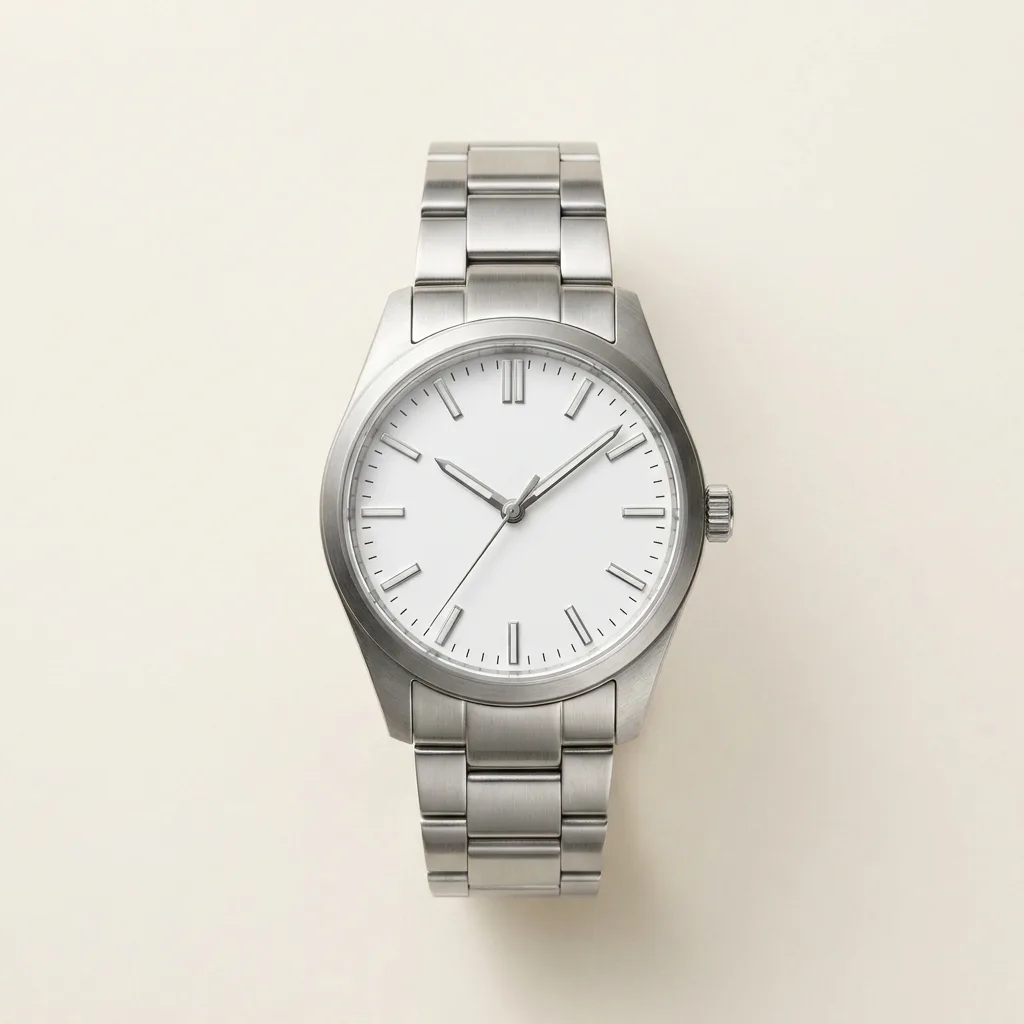 After
After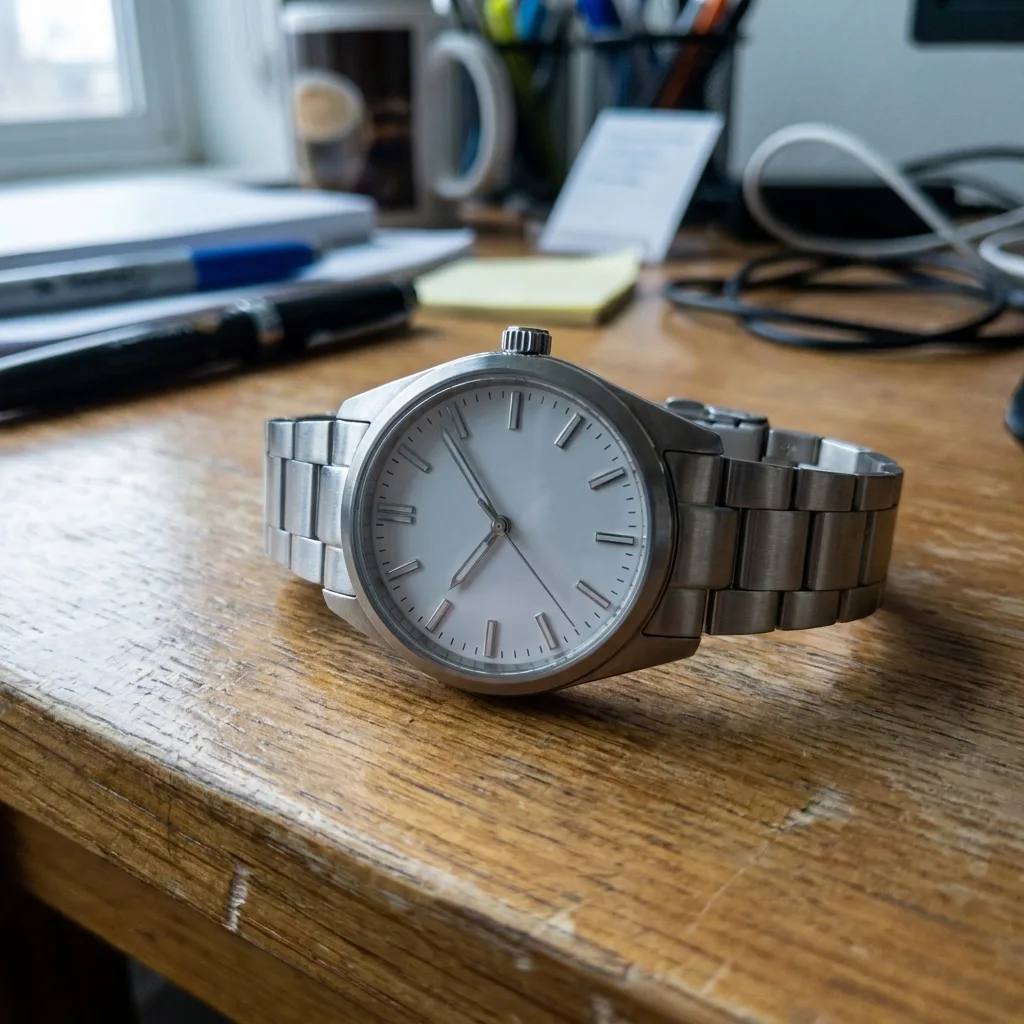 Before
Drag to compare — real Luvelano output
Product photography lighting & setup, step by step
You do not need studio strobes. You need soft, even, controllable light and a repeatable setup. This gets you there.
- 01
Start with one big soft source
A north-facing window with a sheer curtain is the cheapest softbox in existence. Big and diffuse beats small and bright: soft light wraps around the product instead of carving hard shadows.
- 02
Fill the shadow side
Place white card opposite the window to bounce light back into the shadows. Move it closer for flatter light, further for more shape.
- 03
Use a lightbox for small reflective products
Jewelry and watches reflect everything — including you. A lightbox surrounds them with white, killing stray reflections. A folding one costs little and lasts years.
- 04
Keep the background one stop brighter than you think
For white backgrounds, light the backdrop separately or place it near the window side, otherwise white turns muddy grey in the photo.
- 05
Lock the camera down
Tripod or a stack of books, self-timer, focus tapped on the product. Consistent framing across products matters more than any single perfect shot.
- 06
Write your setup down
Distance, angle, time of day. Product photography is a repeatable recipe, not an inspiration event — the notes are what keep SKU 1 and SKU 100 looking alike.
Or skip the rig: upload the photo you already have and Luvelano relights it as a studio packshot — soft light, clean background, the product kept exactly identical.
Start free — no card neededFrom snapshot to shelf in three steps
No new gear, no learning curve. Luvelano does the studio work for you.
Upload your photo
One plain phone photo of your product is enough — no gear, no setup.
Pick a look
Studio packshot, lifestyle scene or on-model shot — you choose the output.
Publish
Download catalogue-ready images in minutes and put them straight on your shop.
Start free, upgrade when your shop grows
Paid plans from €19/month for your whole catalogue. Cancel anytime.
Frequently asked
What is the best lighting for product photography?
One large, soft, diffused source — window light through a sheer curtain, or a softbox — with white card filling the shadows. Hard, direct light is what makes product photos look harsh.
Do I need a lightbox for product photography?
For small reflective items like jewelry and watches it helps a lot; for larger matte products a window and bounce card do the same job for free.
Can I fix bad lighting afterwards?
Editing recovers a little; relighting recovers everything. Luvelano regenerates the shot with studio lighting while keeping the product itself identical.
Explore more solutions
See your own products transformed
Upload one photo and watch Luvelano stage it in seconds. Free to start — no card required.
Get started free