Product photography tips that actually change the result.
Not fifty tips — ten. These are the ones that separate listings that convert from listings that scroll past, ordered by impact.
Jewelry & watches · Furniture & interior
 After
After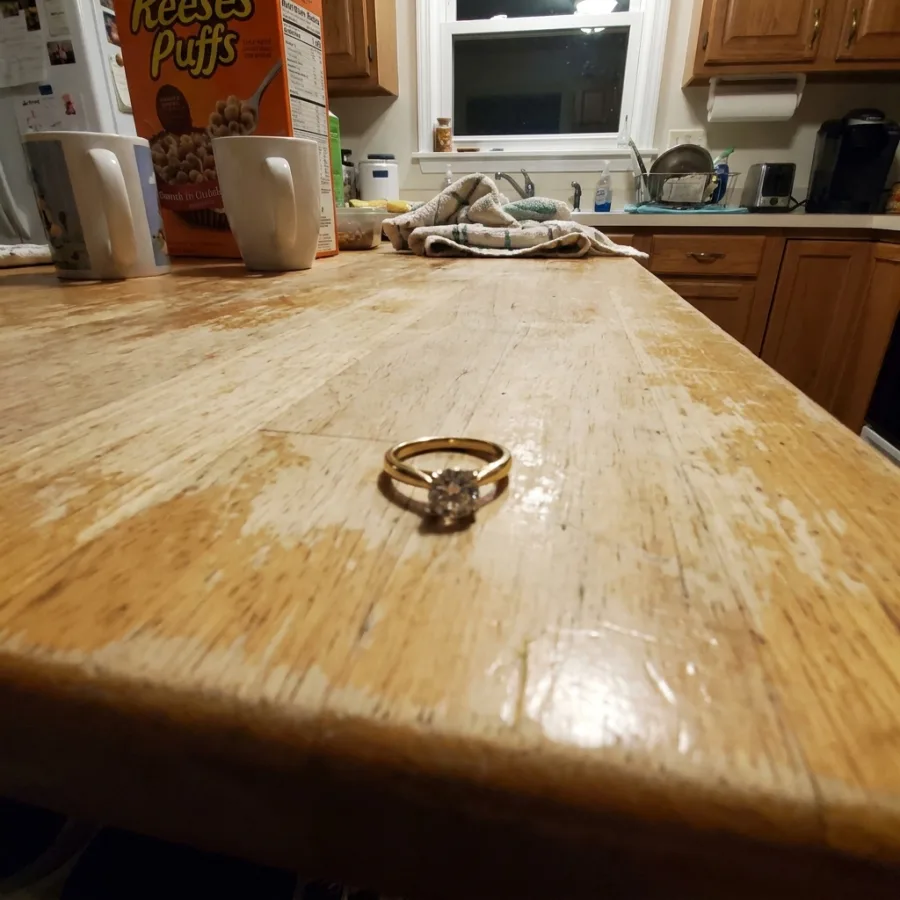 Before
Drag to compare — real Luvelano output
Ten tips, by impact
If you only apply the first three, your photos improve visibly. The rest compound.
- 01
Soft light beats every other upgrade
Window plus sheer curtain, or a softbox. Nothing else on this list matters while the light is hard.
- 02
Consistency beats brilliance
One angle recipe, one background, one light for the whole category. A uniform grid outsells a grid of individual masterpieces.
- 03
Clean the product, always
Microfibre cloth before every shot. Dust is the most-edited, easiest-prevented flaw in product photography.
- 04
Steady the camera
Tripod or prop, timer, done. Micro-blur is invisible on your phone screen and obvious on a product page.
- 05
Protect the highlights
Drag exposure down a touch. A blown-out white edge on metal or glass cannot be recovered in editing.
- 06
Shoot the boring accuracy shot first
Front-on, honest, sharp. Creativity comes second — the accurate shot is the one that prevents returns.
- 07
Fill shadows with white card
A folded piece of white card opposite the light is a free second light. It is the difference between moody and murky.
- 08
Mind what reflects
Glossy products mirror the room and the photographer. Shoot inside a lightbox, or angle yourself out of the reflection.
- 09
Edit like a witness, not an artist
White balance, straighten, minor cleanup. The photo must match the box the customer opens.
- 10
Let the machine do the studio part
Take one honest photo well, then generate the packshot, scene and on-model shot from it — the product kept exactly identical.
The first nine tips make a better source photo. The tenth turns it into a catalogue: upload it and Luvelano handles light, background and consistency.
Start free — no card neededFrom snapshot to shelf in three steps
No new gear, no learning curve. Luvelano does the studio work for you.
Upload your photo
One plain phone photo of your product is enough — no gear, no setup.
Pick a look
Studio packshot, lifestyle scene or on-model shot — you choose the output.
Publish
Download catalogue-ready images in minutes and put them straight on your shop.
Start free, upgrade when your shop grows
Paid plans from €19/month for your whole catalogue. Cancel anytime.
Frequently asked
What is the single most important product photography tip?
Soften the light. One large diffused source close to the product fixes more photos than any camera, lens or editing step.
How do I keep photos consistent across many products?
Write the recipe down — distance, angle, background, light — and repeat it mechanically. Or generate all images through one tool so consistency is automatic.
How much editing is too much?
When the photo stops matching the physical product. Accuracy is a legal and a trust issue — white balance and cleanup yes, reshaping and heavy filters no.
Explore more solutions
See your own products transformed
Upload one photo and watch Luvelano stage it in seconds. Free to start — no card required.
Get started free